

Blog
How to Use a Whipped Cream Charger: The Complete Step-by-Step Guide for Home Bakers and Baristas

There are two kinds of people in the kitchen. The first kind reaches for a can of squirty cream, shakes it half-heartedly, and accepts the watery, soapy foam it produces. The second kind owns a cream whipper — and once you’ve tasted whipped cream made from a whipper, there’s no going back.
If you’ve just bought your first cream whipper, or you’ve had one sitting in a drawer because the instructions were confusing, this guide is for you. We’ll walk through exactly how to use a whipped cream charger, step by step, from loading the cartridge to cleaning the tool afterwards — plus the mistakes that quietly ruin most people’s results.
By the end, you’ll be turning out silky, stable, spoonable cream that holds its shape for hours.
What You’re Actually Working With
Before we start, let’s make sure we’re on the same page. A cream whipper (sometimes called a whipped cream dispenser or siphon) is a pressurized vessel that aerates liquid using nitrous oxide — N₂O — rather than air. The charger is the small metal cartridge, usually 8g, that contains food-grade nitrous oxide.
The magic happens because N₂O dissolves into the cream’s fat under pressure and expands as the cream leaves the nozzle. That’s why cream from a whipper is denser, glossier, and far more stable than anything you can get from whisking or a spray can. It’s the same technique pastry chefs have used for decades — you’re just doing it at home now.
What You’ll Need Before You Start
Keep it simple on your first attempt. You’ll need:
- A cream whipper (obviously)
- 8g N₂O chargers — we recommend food-grade, high-purity cartridges for the best taste and safety
- Cold heavy cream (at least 35% fat — this matters more than anything)
- Sweetener and flavoring (optional): icing sugar, vanilla, or whatever you like
One non-negotiable rule: everything must be cold. The cream, the whipper body, even the room temperature if you can manage it. Cold cream is the difference between stiff, glossy peaks and a sad puddle of liquid.
How to Use a Whipped Cream Charger: Step by Step
Let’s get to the actual process. Follow this exactly and you’ll get it right the first time.
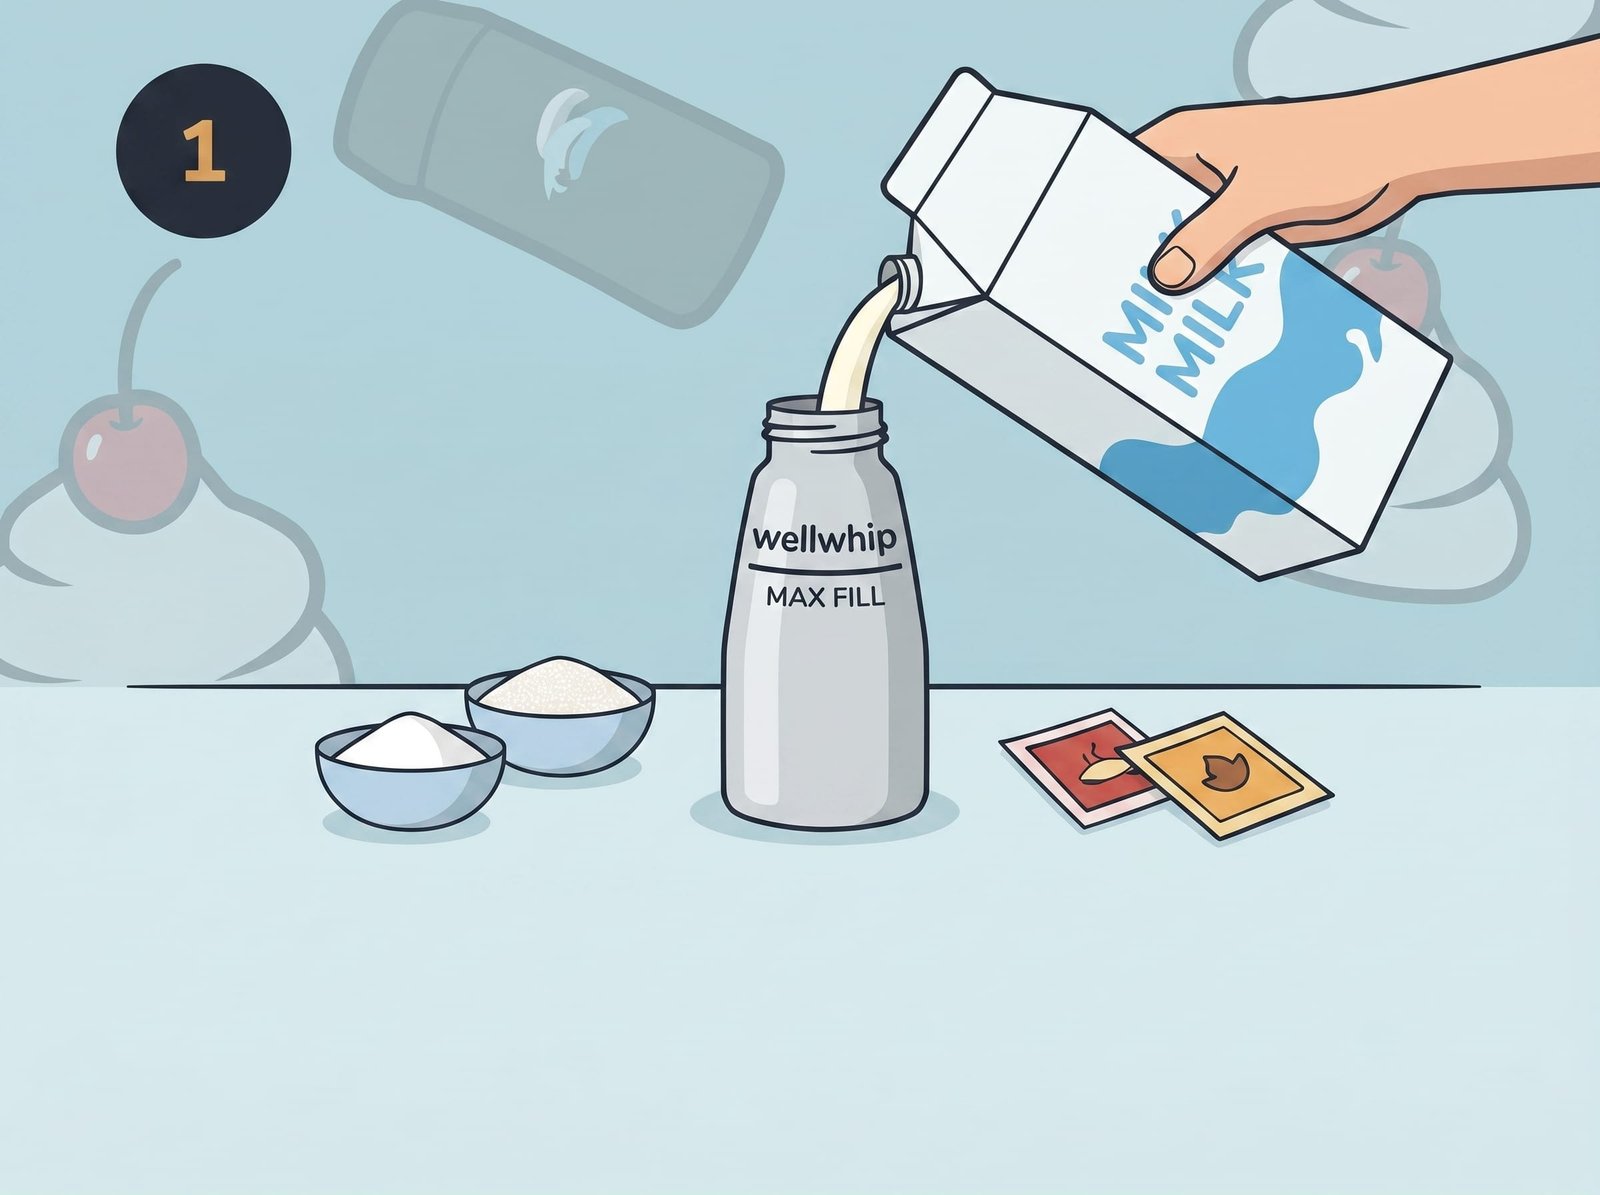
Step 1 — Pour in the cream. Fill the whipper no more than two-thirds full. Yes, it looks tempting to fill it to the top, but you need headspace for the gas to dissolve properly. Overfilling is one of the most common beginner mistakes.
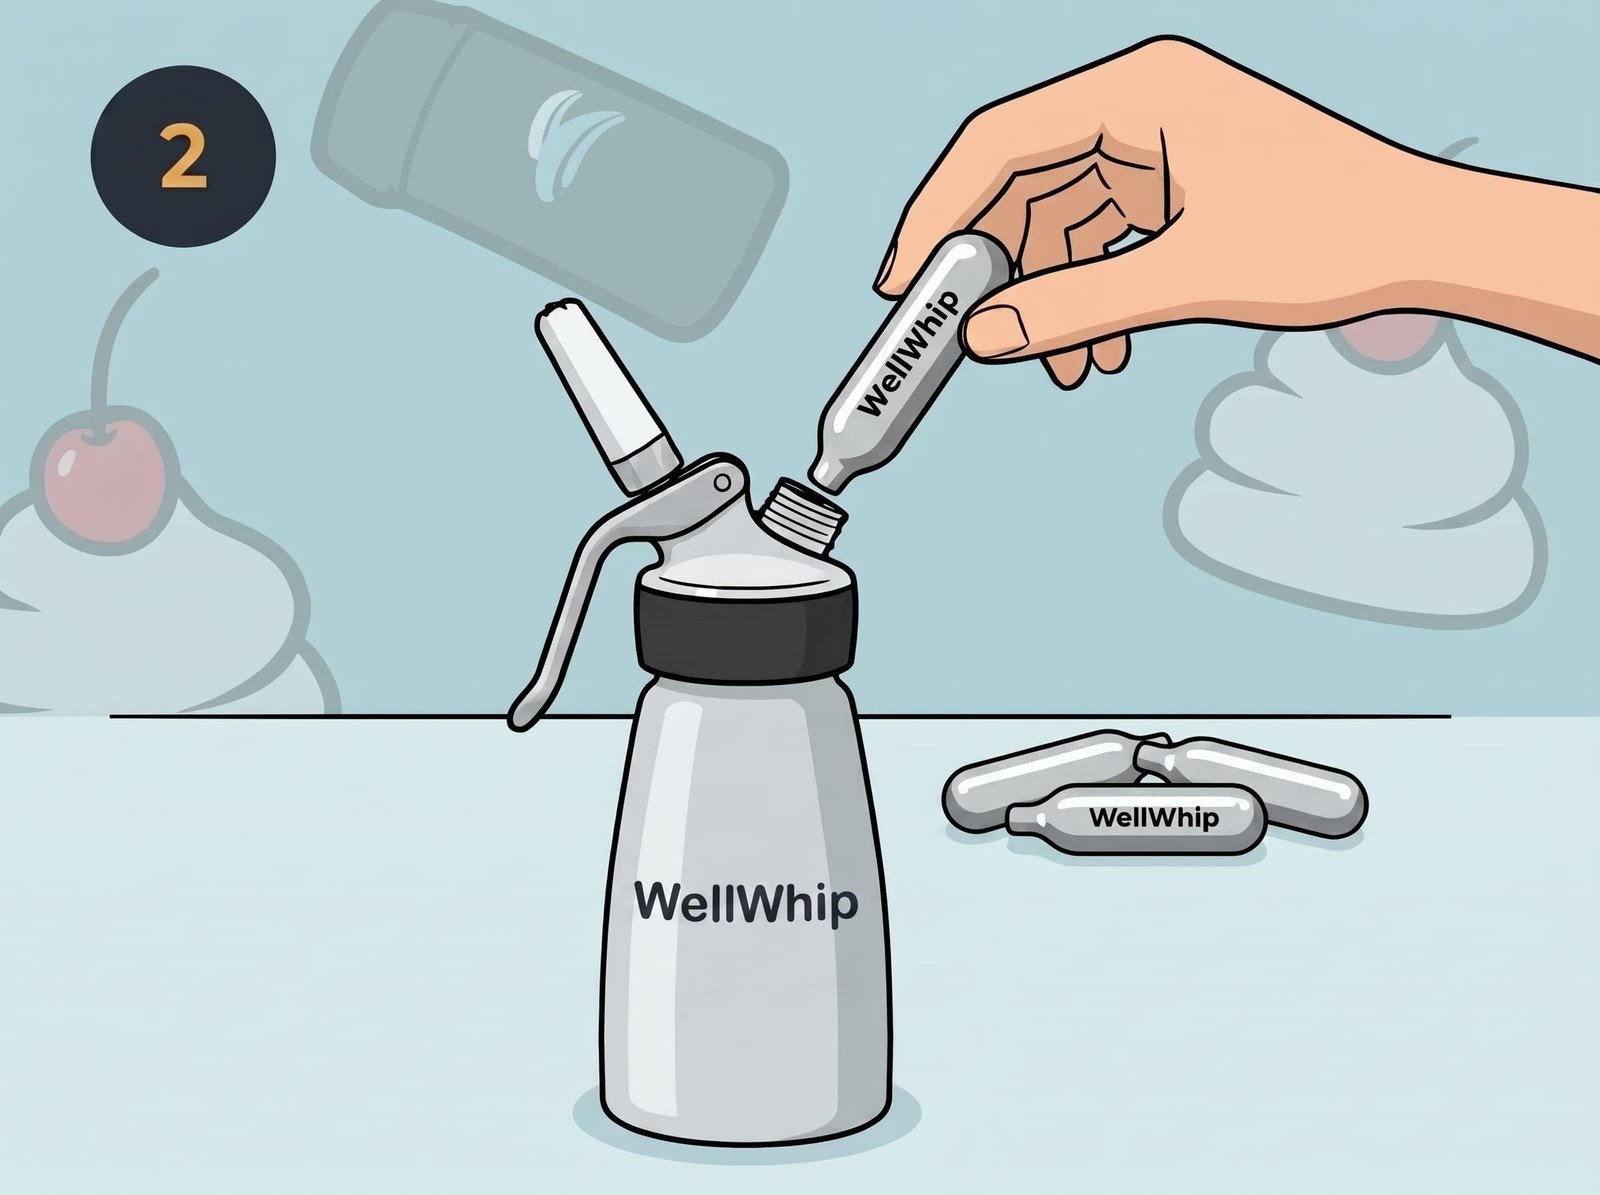
Step 2 — Load the charger. Here’s the part people find intimidating. Screw the charger holder onto the whipper’s head. You’ll feel resistance, then the cartridge will pierce and you’ll hear a sharp hiss — that’s the N₂O releasing into the chamber. That sound is normal and means it’s working. Screw it all the way until the head is fully locked in place.
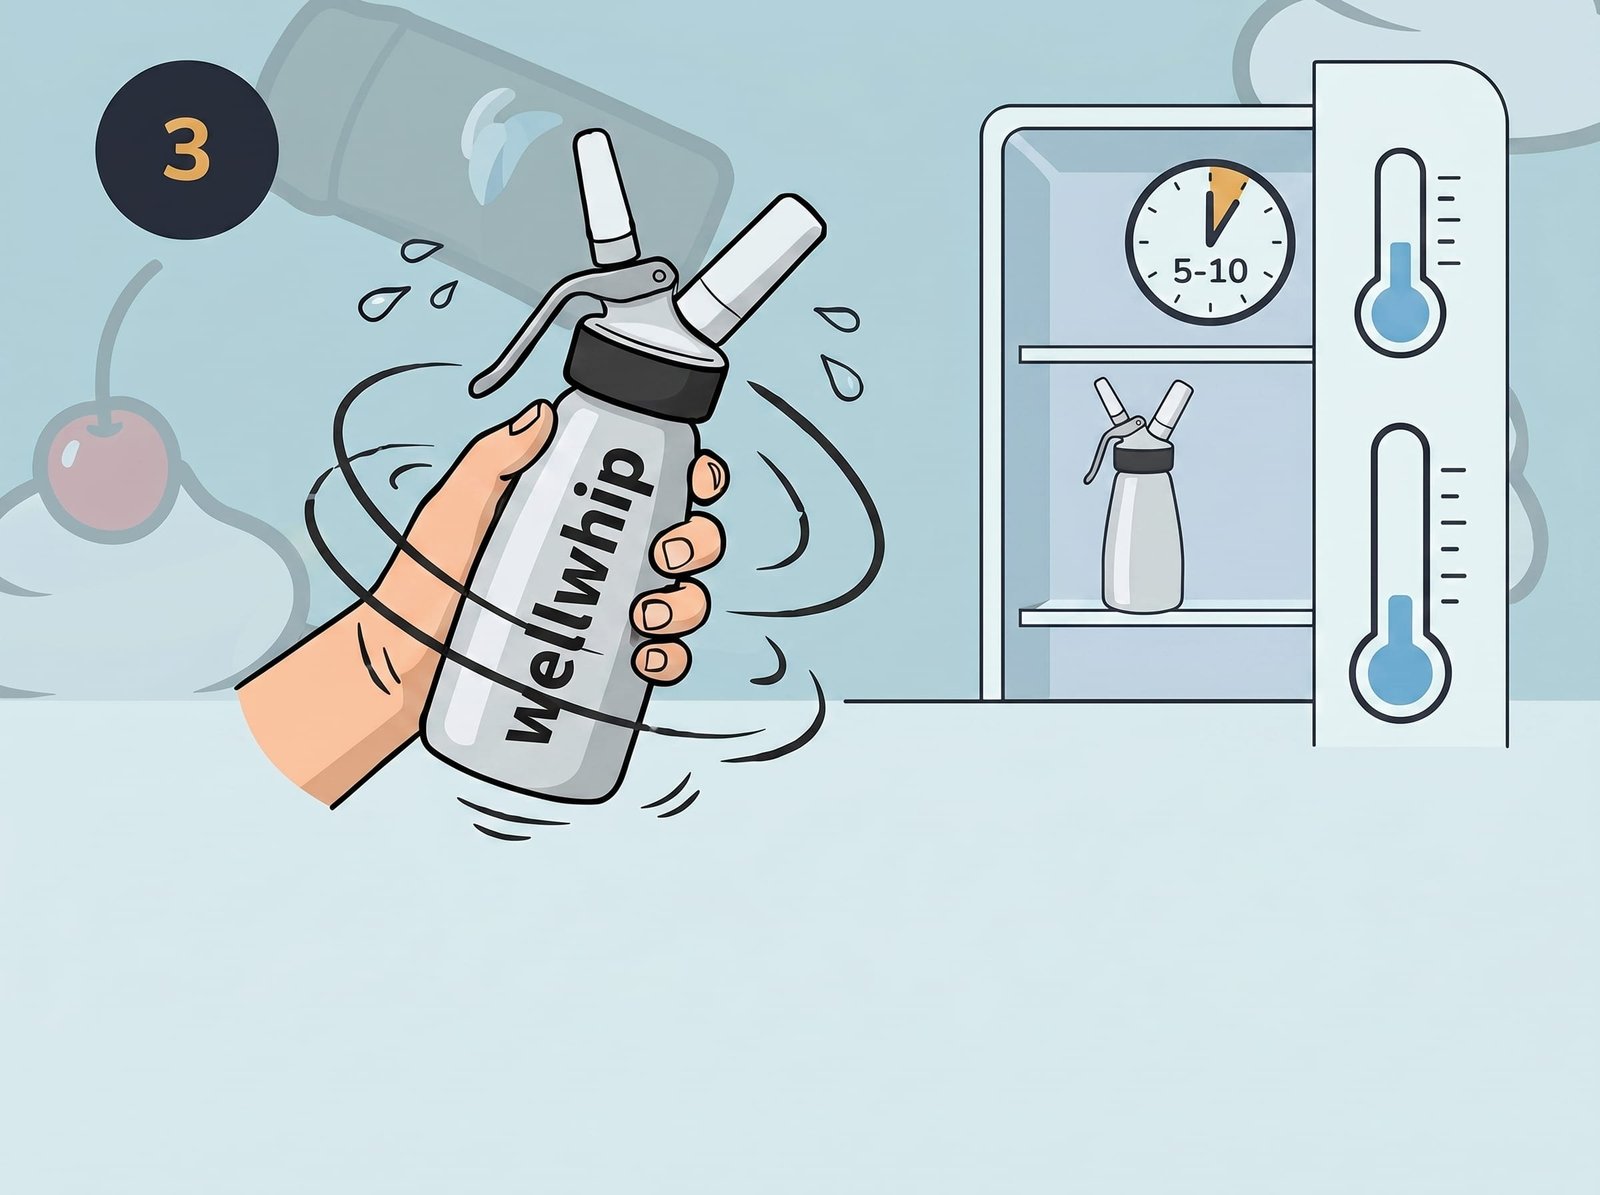
Step 3— Shake. Shake the whipper firmly for about 8–10 seconds. Not gently — you want a proper shake, the kind you’d give a cocktail shaker. This is what dissolves the gas into the cream. Under-shaking is why so many people get runny cream.
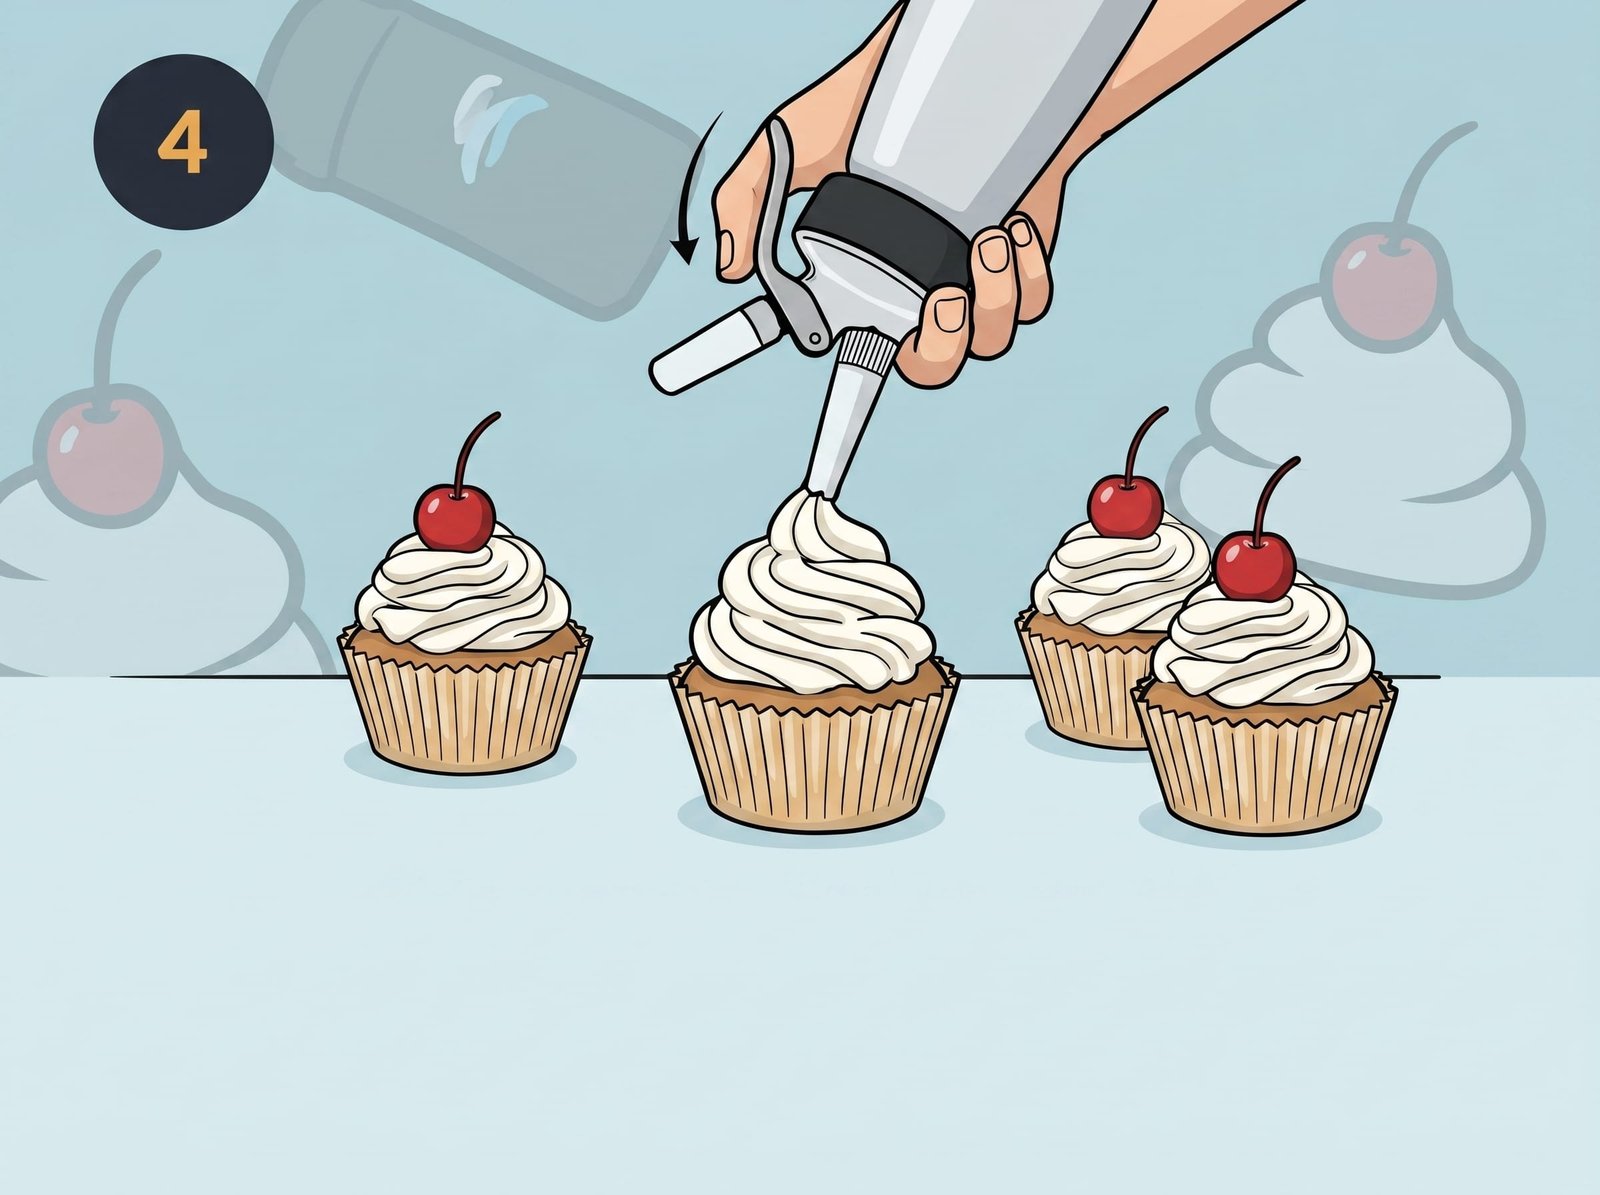
Step 4 — Dispense and enjoy. Invert the whipper (nozzle pointing down), press the lever, and dispense straight onto your dessert. You’ll see the cream coming out thick and glossy within the first second. Stop pressing when you’ve got the amount you want.
Step 5 — Rinse it out. If you’re not using the rest immediately, remove the head and rinse the body with cold water so it doesn’t turn sour in the fridge. We’ll cover cleaning properly a bit further down.
That’s it. Seven steps, about 30 seconds of actual work.
The Mistakes That Ruin Whipped Cream (And How to Fix Them)
Even experienced home cooks hit these walls. Here’s what usually goes wrong and what to do about it.
“My cream is runny.” Nine times out of ten this means your cream wasn’t cold enough, or you under-shook. Fix: chill harder, shake for the full 10 seconds, and check your cream’s fat content — anything below 35% won’t whip reliably.
“Nothing comes out.” Check that the charger was fully pierced and the head is locked in place. If the cartridge went in but you got no hiss, it wasn’t seated properly. Also make sure you’re not overfilling, which can block the flow.
“It tastes metallic.” That’s a sign you’re using low-grade chargers, or leftover gas in an old cartridge. Stick to food-grade, 99.9% pure N₂O chargers — the taste difference is real.
“The cream collapses within an hour.” Over-whipping in the dispenser, or using cream with too little fat. Aim for the two-thirds fill line and high-fat cream, and dispense it promptly rather than letting it sit pressurized.
Professional Tips for Next-Level Results
Once you’ve mastered the basics, these tricks will separate you from every casual user:
- Chill the whipper AND the cream. The single highest-impact habit, yet most people skip it.
- Use icing sugar, not granulated. Granulated sugar won’t dissolve in the cold cream and you’ll get a gritty texture.
- Add a stabilizer for long events. If you’re serving over hours — say, at a party or buffet — a pinch of gelatin or a stabilizer powder keeps the peaks firm.
- Infuse flavors. Because N₂O infuses so well, you can flavor the cream itself: steep coffee beans, citrus zest, or herbs in the cream overnight, then whip it. It’s a professional trick that looks wildly impressive with minimal effort.
- Charge it fresh per batch. Chargers are single-use; don’t reuse them. A fresh 8g cartridge per full batch gives the most stable result.
How to Clean Your Cream Whipper
Cleaning is the part everyone dreads, but it takes ninety seconds if you do it right — and it’s what keeps your whipper tasting clean for years.
Right after use, unscrew the head and release any remaining pressure (carefully, pointing away from your face). Rinse the body immediately with warm water — not boiling, which can damage the seals. Hand-wash the head and nozzle; the valve and small parts are delicate, so avoid the dishwasher. Let everything air-dry fully before reassembling, because trapped moisture is what causes that stale, sour smell.
Wash it after every session, not every third one. Cream goes rancid fast, and nobody wants their next dessert tasting of yesterday’s.
Which Charger Size Should You Use?
The 8g cartridge is the standard for home use, and it’s what most whippers are designed around. If you’re making single desserts or small batches, 8g is perfect. Larger sizes (like 16g or 580g bulk tanks) are for commercial kitchens doing high volume — and honestly, for home use they’re overkill and harder to store.
The golden rule: match the charger to your whipper’s spec. Using the wrong size can waste gas or, worse, put pressure on a vessel not built for it. When in doubt, 8g food-grade chargers are the safe, reliable default.
A Word on Safety
N₂O chargers are safe when used as intended — which is why we want to state this clearly. Only use food-grade cartridges, only use them in a whipper designed for them, and never inhale the gas. Keep chargers away from heat and out of children’s reach. And please, don’t try to force a cartridge into a whipper it wasn’t made for; the pierce mechanism needs to seat properly, or you’ll waste gas and risk a leak. Safety is simple, but it’s non-negotiable.
Frequently Asked Questions
Can I use regular cream? Yes — as long as it has at least 35% fat. Lower-fat “whipping cream” substitutes often fall short. Double cream and heavy cream work best.
How long does whipped cream from a whipper last? Refrigerated and sealed in the dispenser, it holds well for a few days. Dispensed cream, kept cold, stays firm for hours. It won’t keep as long as canned spray cream, but the texture and taste are incomparably better.
Is an 8g charger enough for one whipper? Yes. One 8g cartridge charges a standard home whipper fully. Don’t double-charge unless your model’s instructions say otherwise.
Do I need to shake it? Absolutely. Skipping the shake is the #1 reason for watery cream. Firm shaking for 8–10 seconds dissolves the gas — there’s no shortcut.
Whip It Like You Mean It
A cream whipper isn’t a gadget — it’s the fastest upgrade you’ll make in the kitchen. Once you’ve nailed the cold cream, the two-thirds fill, and the firm shake, you’ll produce cream that looks and tastes professional, every single time.
Whether it’s a dollop on your morning coffee, a cloud on a pavlova, or a garnish that turns a simple dessert into a showstopper, the technique is the same. And it’s now yours.
If you’re looking for a reliable whipper and food-grade 8g chargers to go with it, check out the WellWhip range — built for home bakers who take their desserts as seriously as the pros do.
Happy whipping.